I don't usually label all of my beers, but it's very nice to be able to print a few labels when you share your beers with your friends, family, or when trading with other homebrewers. I like this method because I can just print 4 labels, or 8, or 20 if I want to, but I don't have to commit ordering 40+ sheets. It's also great to be able to print these as soon as I need them without having to wait. So without further ado, here's how you can make your own labels too. Here's what you'll need:
1. A color printer (I use Epson ET-2720, nothing fancy)
2. A computer to design, create and print the labels from
The right paper is important to get because it will not leak when the bottles condense or get wet in the cooler.
I get my paper from onlinelabels.com, more specificially I get this 3.5" by 4" Weatherproof Matte label paper. Here's why:
Use your weapon of choice like Adobe Photoshop, Canva (free), MS Paint, PDF, whatever to create some funky art. Just make sure that you design your labels to be 3.5" by 4" so that they match your paper's dimensions.
Only piece of advice I can offer on design is to keep it simple and consider utilizing one of the AI platforms to create some fun label art for you. I personally like Midjourney AI because you get 25 free queries (as of 2023). You do have to download Discord to use it though.
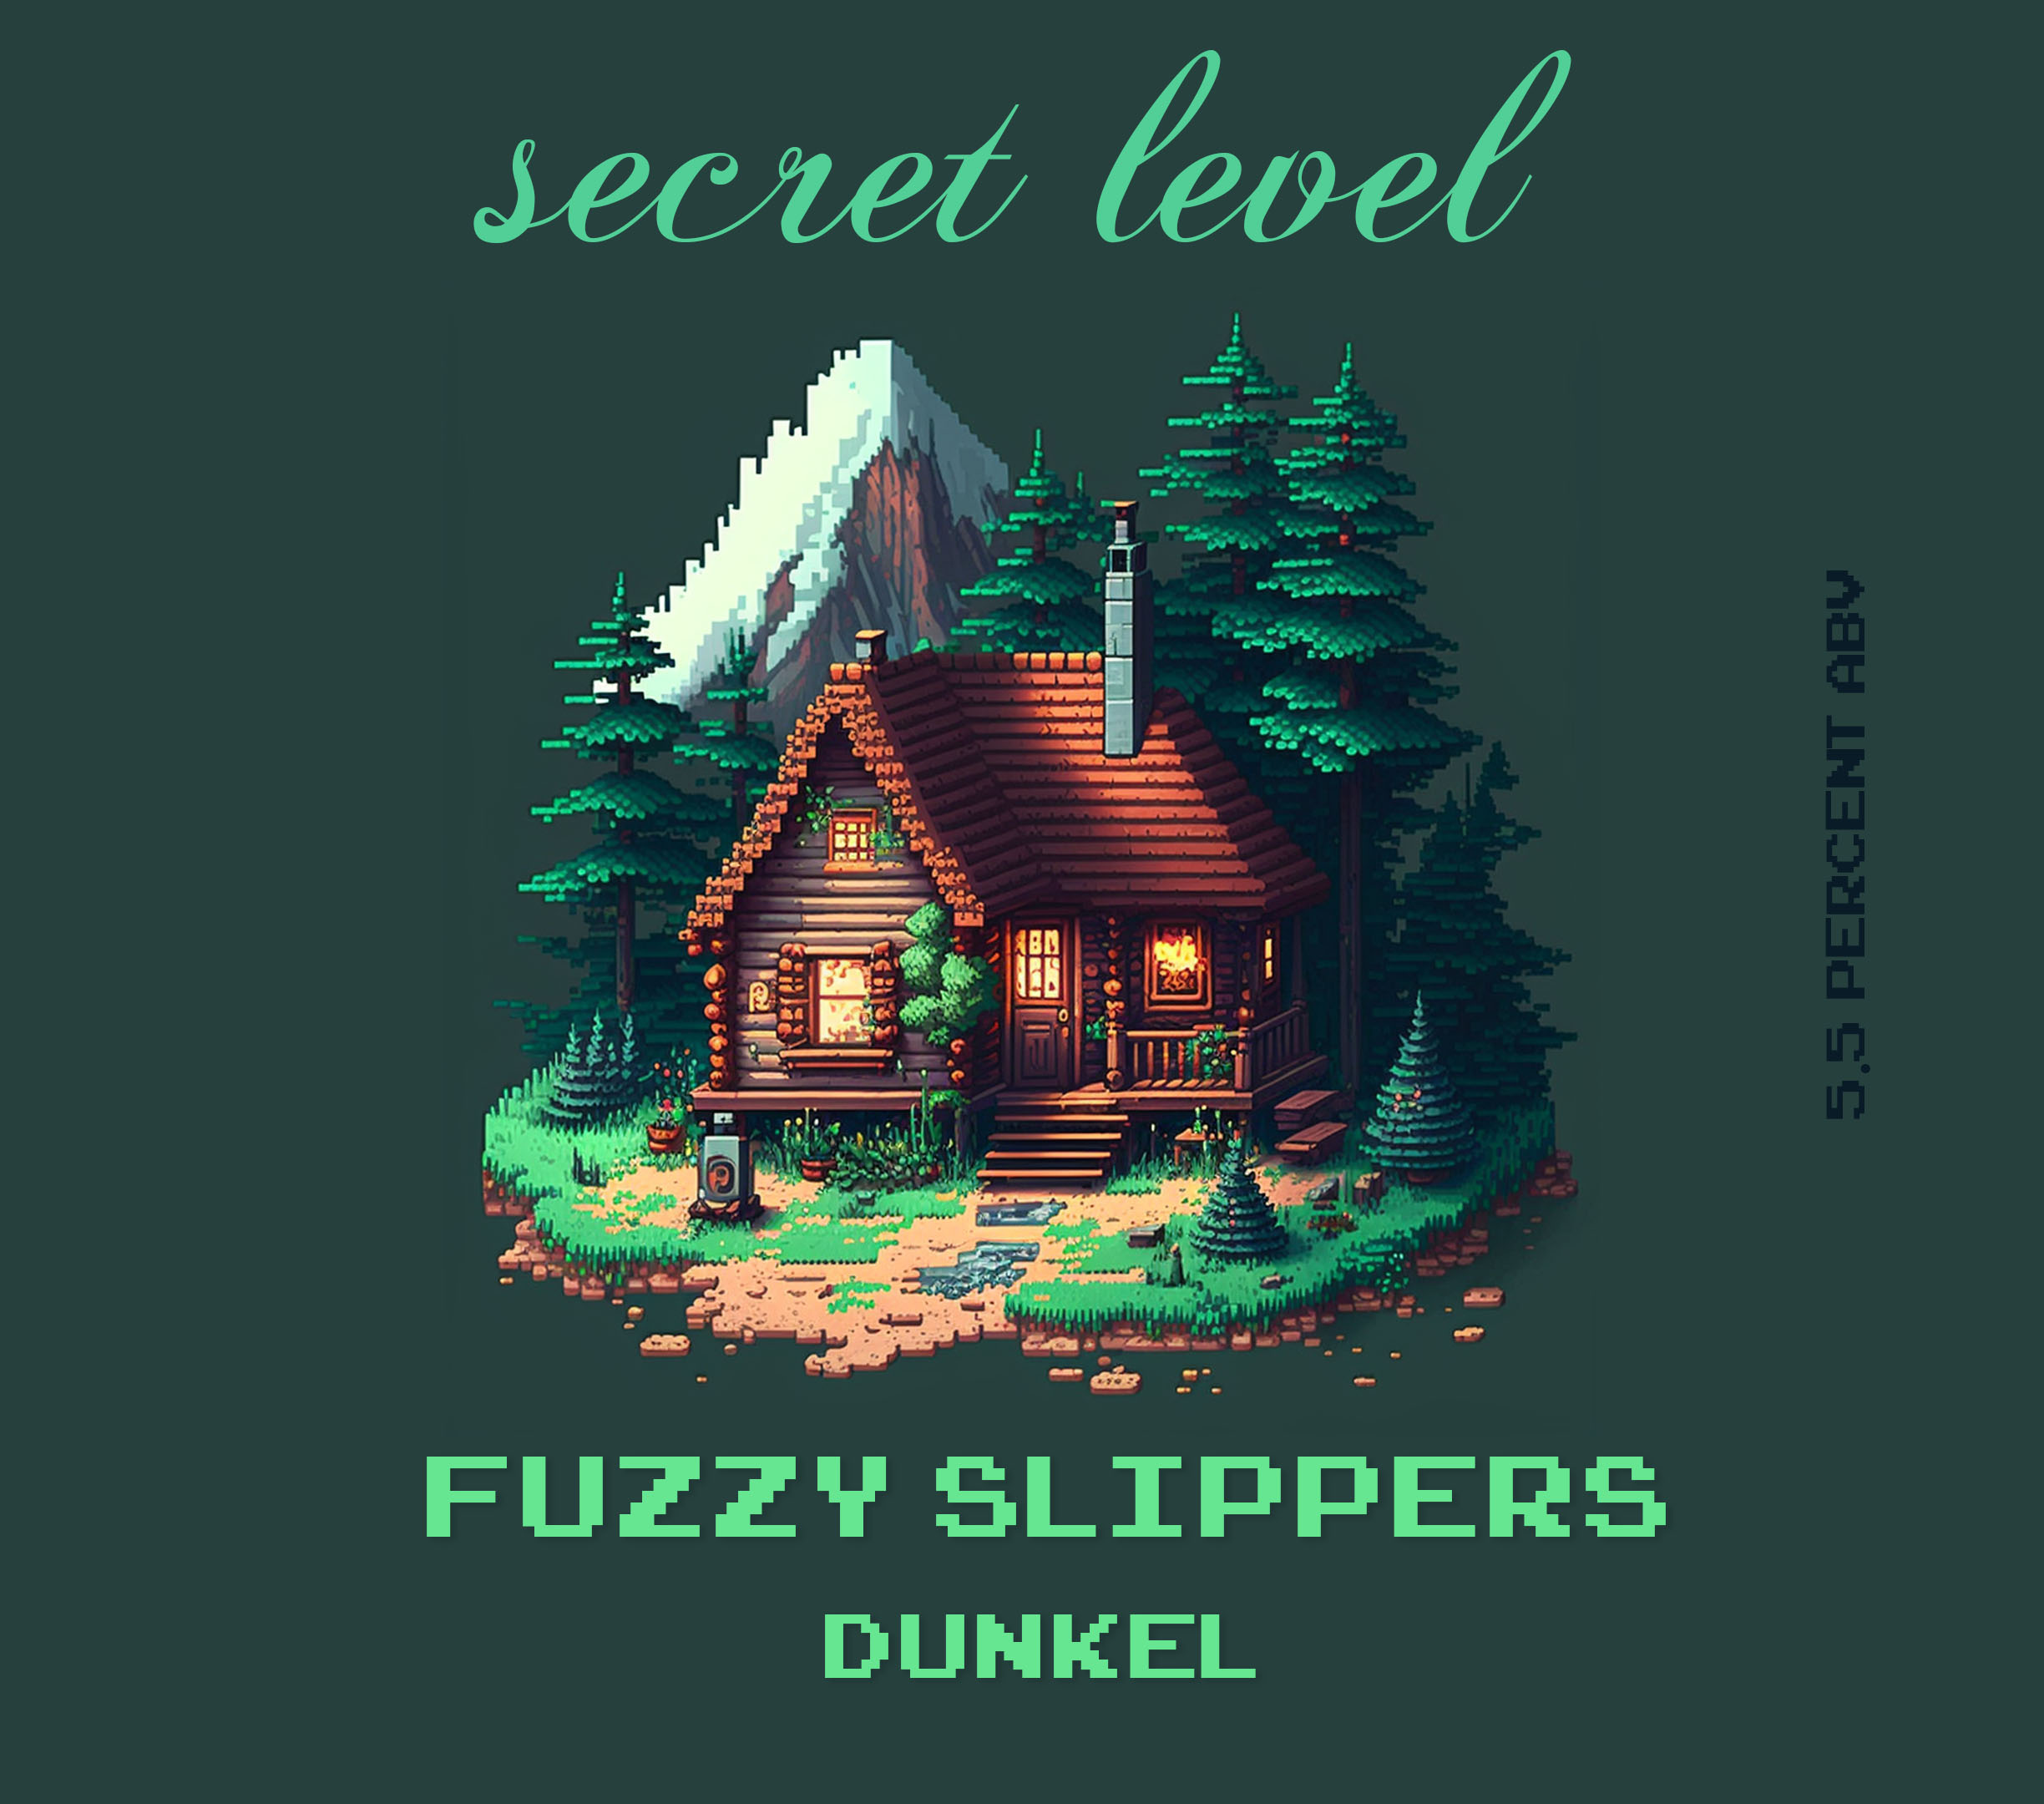 This is a recent label I made with the help of Maestro AI. I then added my logo, beer title, etc.
Seems simple to just print your labels, but you need to make sure that they fit perfectly on paper. What I like about onlinelabels is that they offer a Maestro Label Designer with your label order that you can use to help you print your labels. Just paste your image into Meastro, rotate it vertically (so it prints horizontal), and adjust a few settings before you're off to the races.
It's important to note these settings because my first labels were way off on paper:
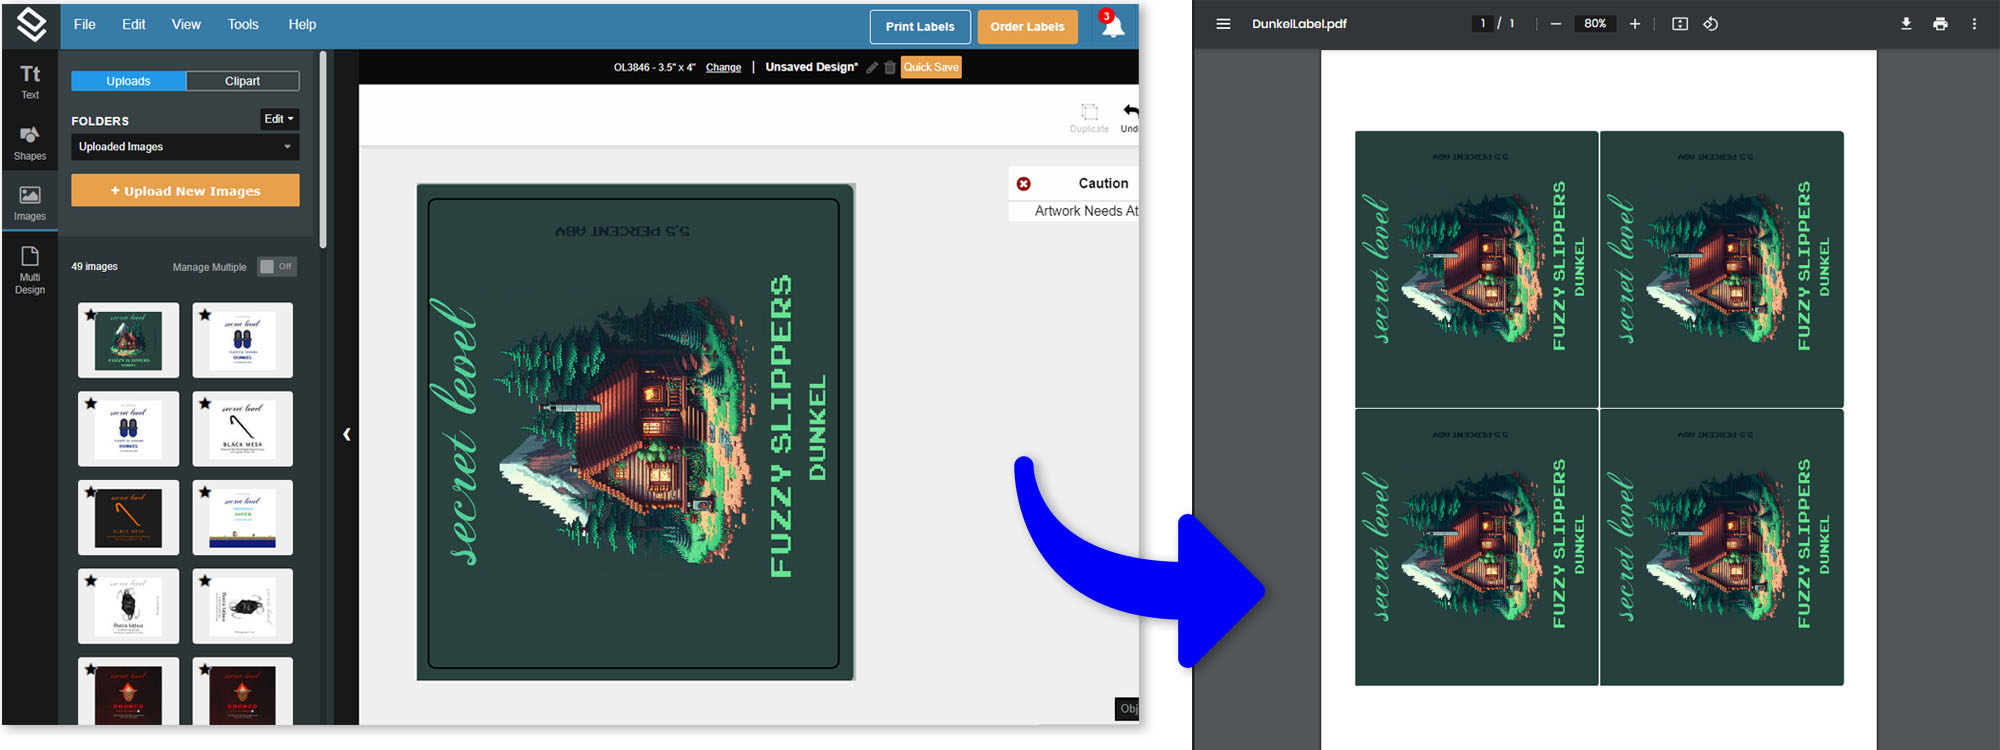 This is how the labels should look before printing
Finally, you'll need to adjust your printer for high-quality paper printing (matte option if you have one). Most importantly, you'll need to go to your printer manufacturer's website (Epson in my case), find your model, and install the drivers (firmware) on your computer. This helps make sure that your printer will print the exact colors you have pulled up on your computer.
I cannot emphasize this step enough, your printer color settings are key to getting good-looking labels. Otherwise your labels will have funky colors and may look odd.
Happy brewing and label-printing, cheers!
Questions? Don't hesitate to reach out to my on Instagram, message me on the email below, or support me on Patreon.


