NEIPA beers are notorious for oxidizing, especially with newbie brewers. Having the ability to keg definitely helps brew these beers but it's not an absolute must. I have had good experience bottling my NEIPA's over the course of years.
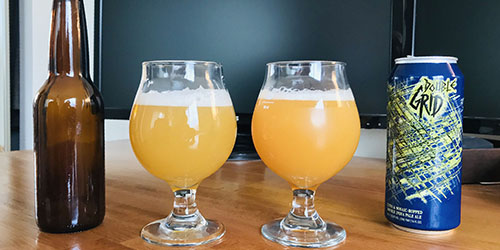
With a little caution and a good process, you can easily bottle your NEIPA. I have been able to drink my bottled NEIPA's 2 months after bottling with great success. They never turned dark brown and flavors like cardboard were nowhere to be found - just great hoppy flavors and aroma.
If you already have a bucket with a spigot, great. If not, homebrew shops charge a couple of dollars to drill a hole and add a spigot to any bucket.
Brew your beer, and ferment it in this bucket. You can take gravity samples by using the spigot. Open it slightly, get enough for a hydrometer reading, and close. This way you minimize the O2 intake from opening the fermenter.
When you're ready to bottle - be sure to cold crash your beer for 24 hours if you can. While optional, cold crashing will help minimize the trub that gets into the bottles. Be cautious of suck-back here - cold crashing may suck sanitizer and oxygen back into the bucket. If you use a one way airlock (also known as 3-piece) as opposed to a two-way airlock, this has remedied the issue for me.
When ready, clean and sanitize the bottles to be used. Pre-prime them with carbonation drops, sugar cubes, or a sugar solution (sugar water). If possible, store these in a cold space before use, so that they're cold to the touch when you bottle.
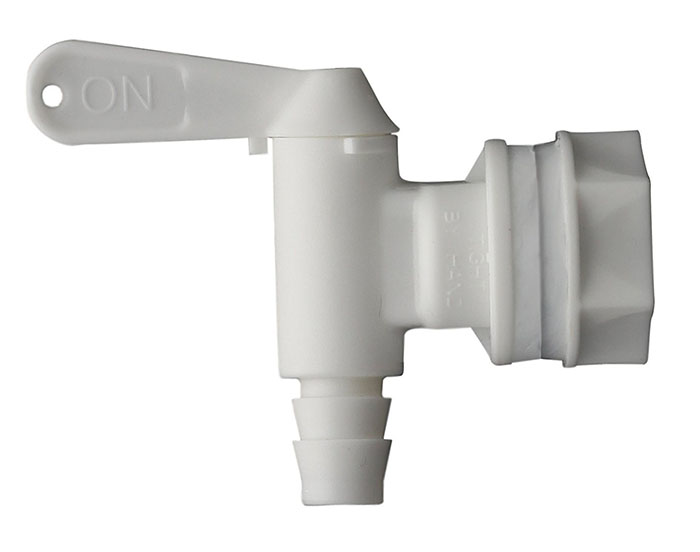
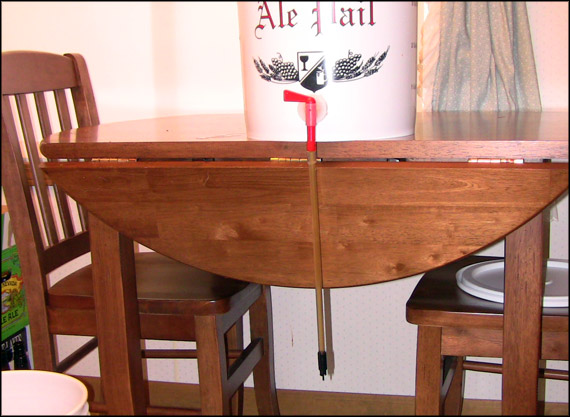 Image credit
 Attach tubing with a bottling wand, or attach your bottling wand directly to the spigot if you can. Definitely test this system for leaks with sanitizer/water before attempting. I found that adding a hose clamp to the tube that attaches to the spigot will prevent bubbles from seeping in.
While I use a short piece of tubing to attach the wand to the spigot, I've used long tubing when I started and it didn't make much of a difference apart from ease of use. Sometimes you may be able to attach the bottling wand directly to the spigot, which is convenient.
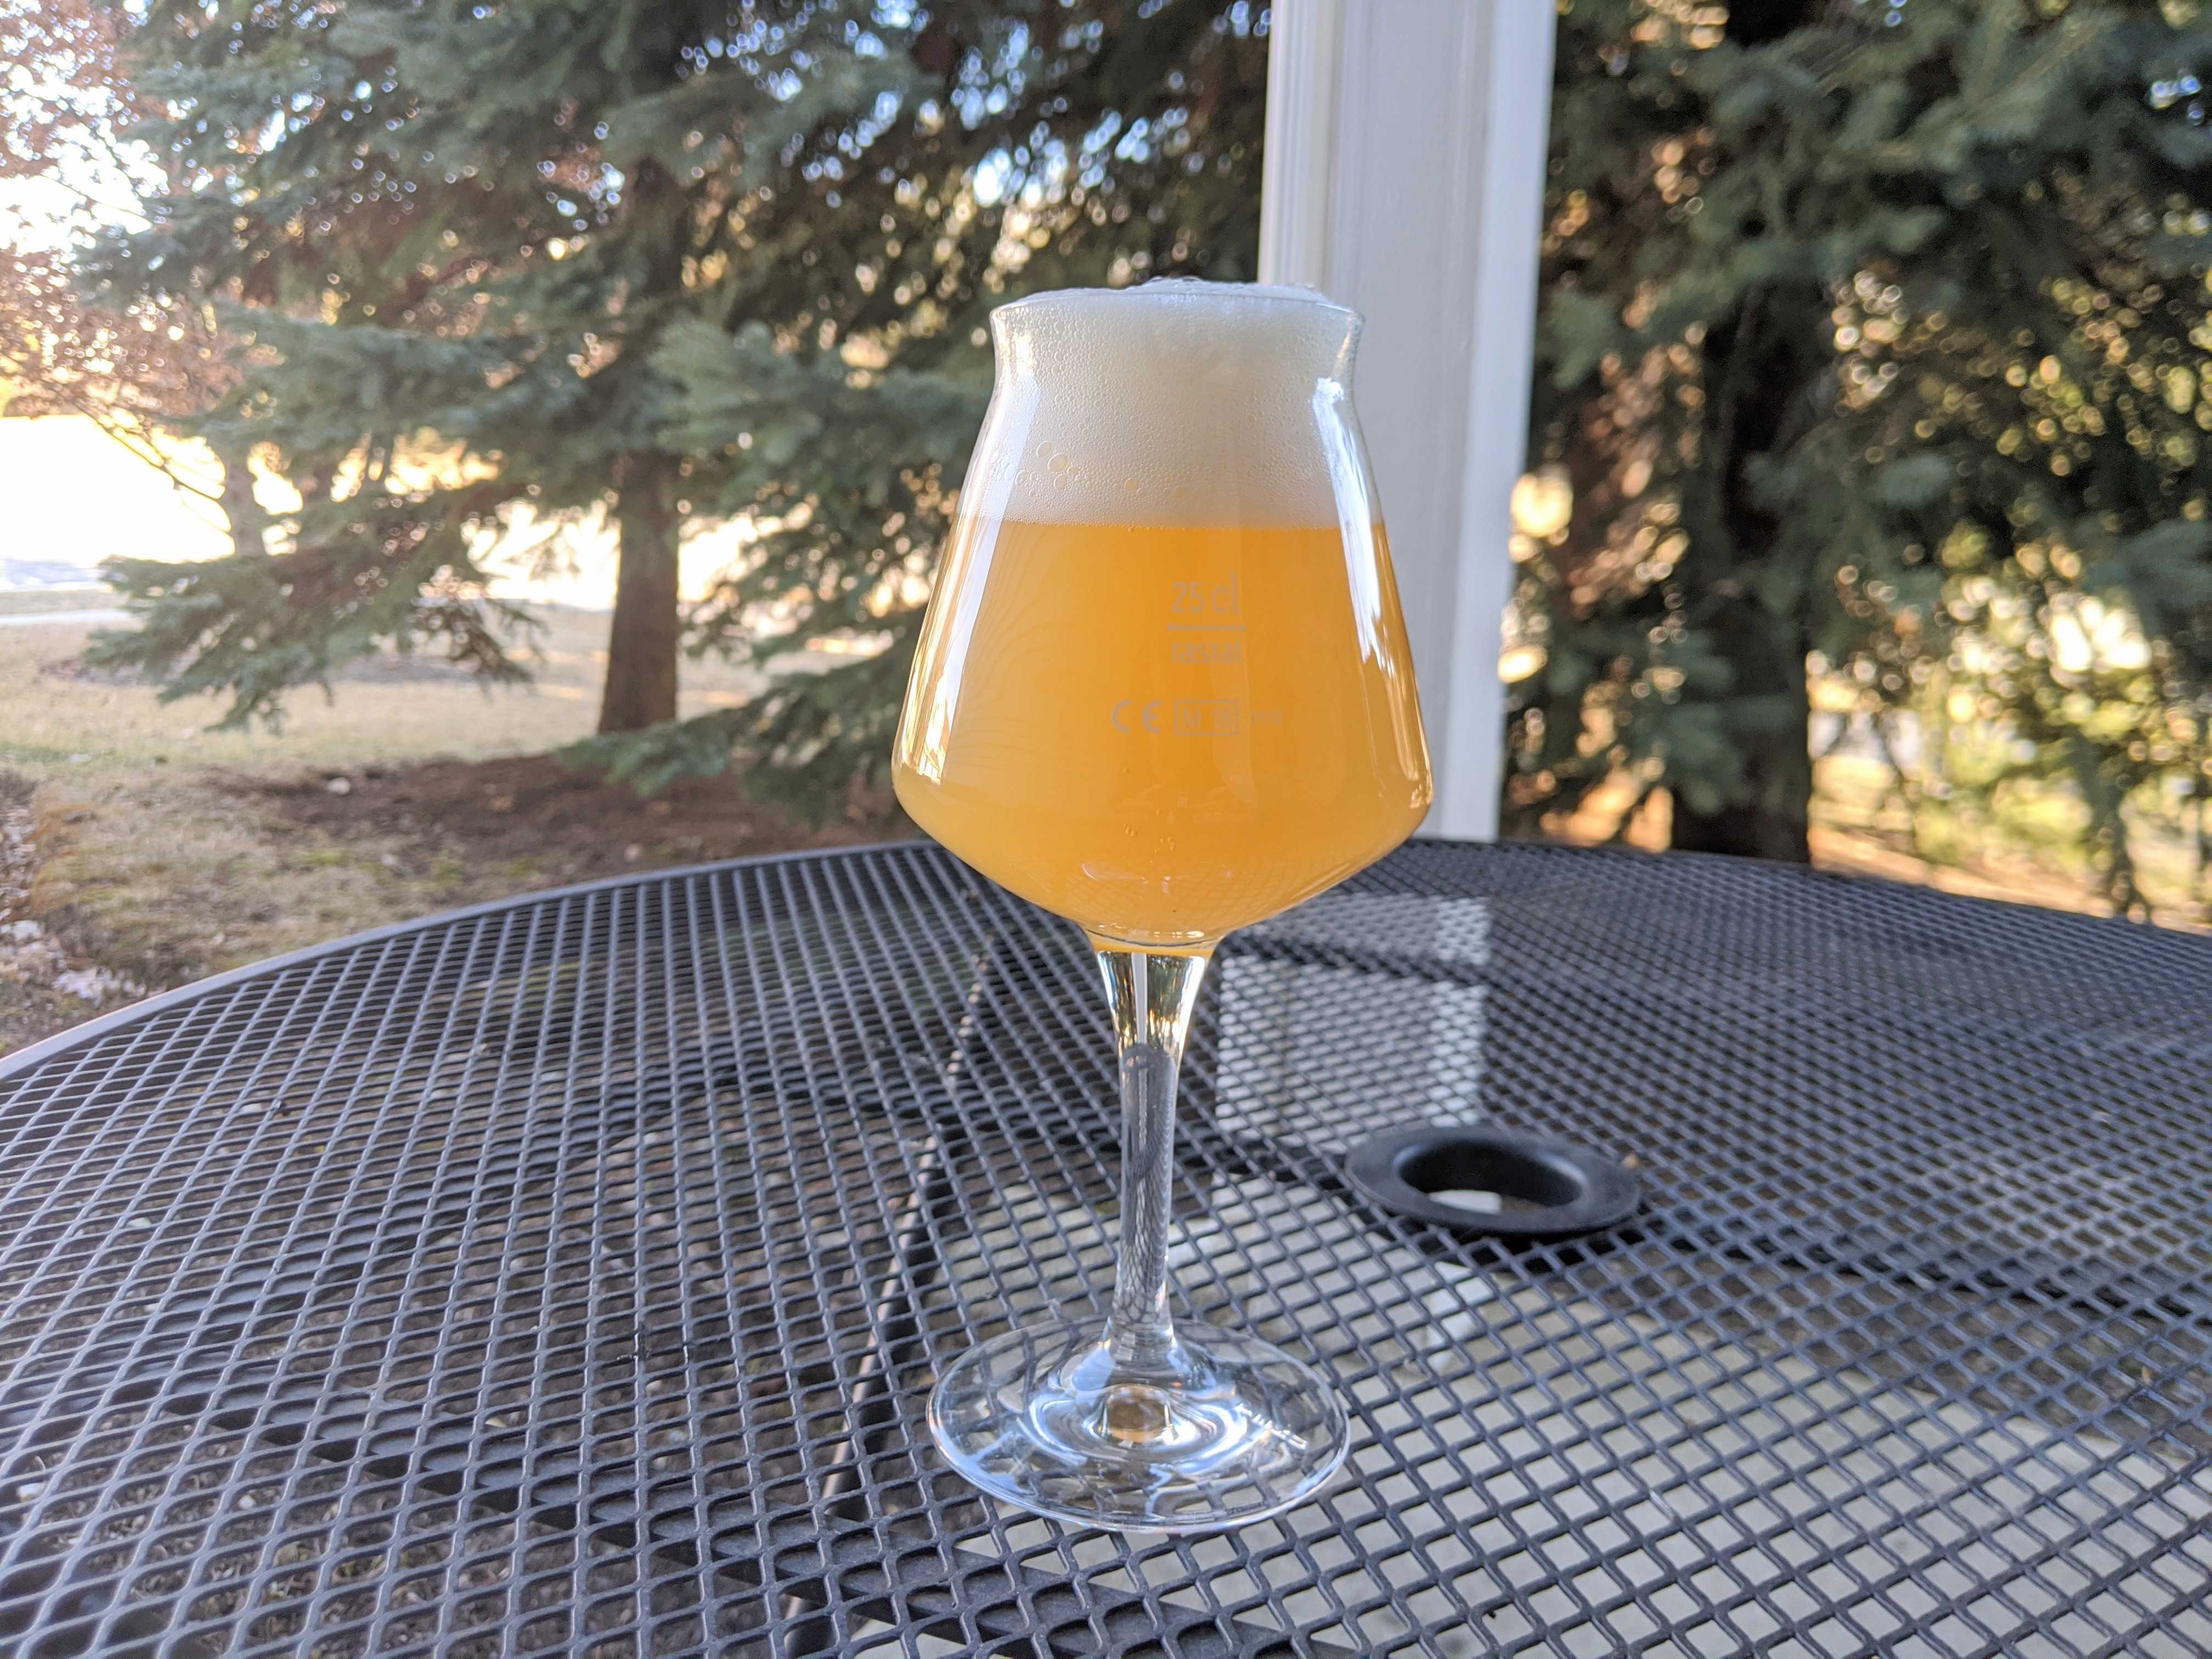
Take out the airlock to allow oxygen inflow as you start to fill the bottles. There's a layer of CO2 sitting on top of the beer, so no need to worry here. Fill the bottles one by one and cork as soon as they're filled. Fill as high as you can and voila!
Fair warning: your first bottle may contain some yeast and hop material - pour that one out or save it as a taster. Toward the very end, you may have to tilt the bucket for the last couple of bottles. Sometimes I'll put a book under the back side of it.
Most, if not all NEIPA's have a dry hop schedule. I've even gone as far as doing a double dry hop and had to open the bucket twice to drop the hops in. Having done that, I have never experienced oxidation issues using this method, but I also never fully take the bucket lid completely off. Crack the lid just enough to get the hops in, and seal it back up. I dry hop in muslin baggies attached to the top with flavorless floss, so that the hops don't clog the spigot when bottling.
Best of luck, and rememeber to RDWHAHB.
 Cheers!